Making Christmas Bright with Tim Holtz Crazy Cats
For Christmas 2017 I created a unique card using a variety of Tim Holtz treasures including Idea-Ology Tiny Metal Bells, Typed Tokens and Star Fasteners.
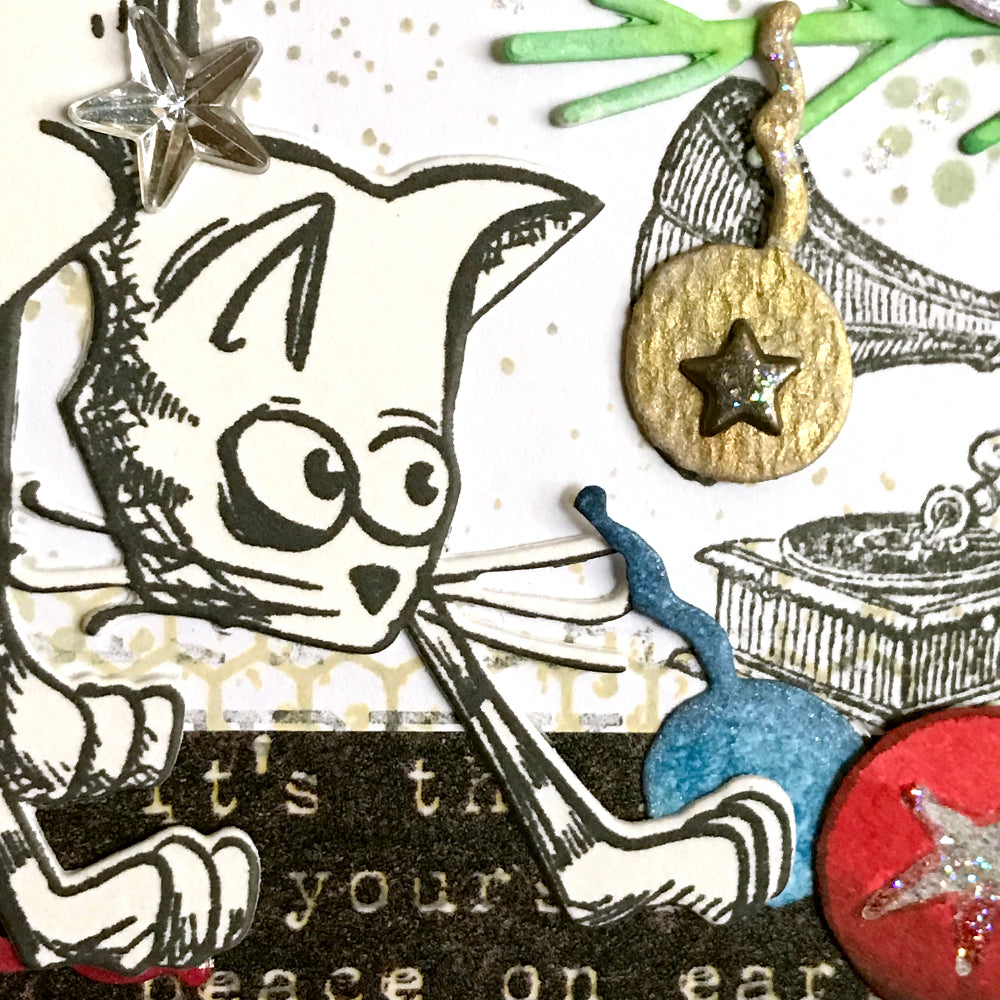
The star of this card is Tim's Crazy Cat from his stamps and die collections. I couldn't resist sharing him with you all so I've shrunk the card down to use for my little Christmas Thank You cards.

They're nothing like how I started out in my mind, but that's ok because hardly anything does that! lol :) Each and every one is different (except for the printed variety)...
List of treasures...
- Tim Holtz Stamp Platform
- Sizzix Sidekick
- Tim Holtz Crazy Cats Stamps
- Tim Holtz Tiny Things set 2 (stamps)
- Tim Holtz Carved Christmas set 2 (stamps)
- Tim Holtz Halftone and Rings (background stamps)
- Tim Holtz Sparkles and Christmas (background stamps)
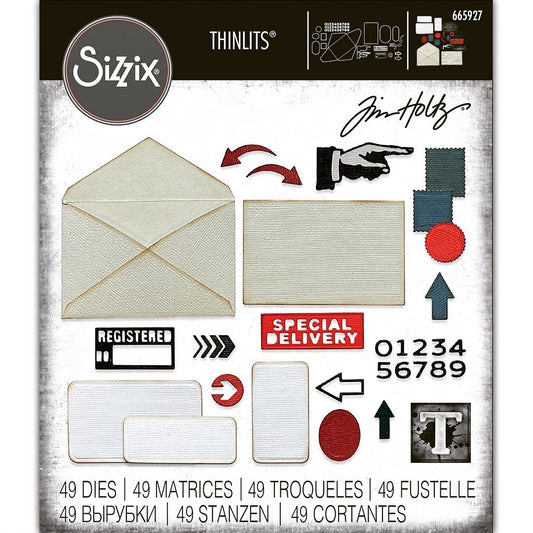
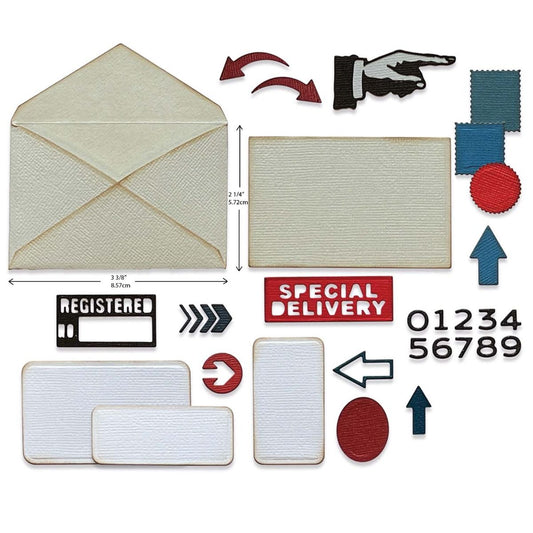
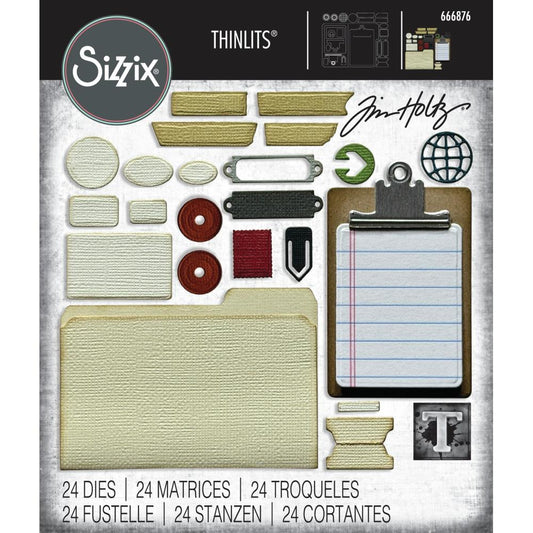
- Tim Holtz Thinlets, Home for the Holidays (dies)
- Dylusions Christmas Borders (stamps)
- IndigoBlu Ink Splats (stamps)
- IndigoBlu Rugged Edge (stamps)
- Jane Davenport Mermaid Markers
- Gansai Tambi watercolour paints (link to all watercolour paints)
- Stickles Star Dust (glitter glue)
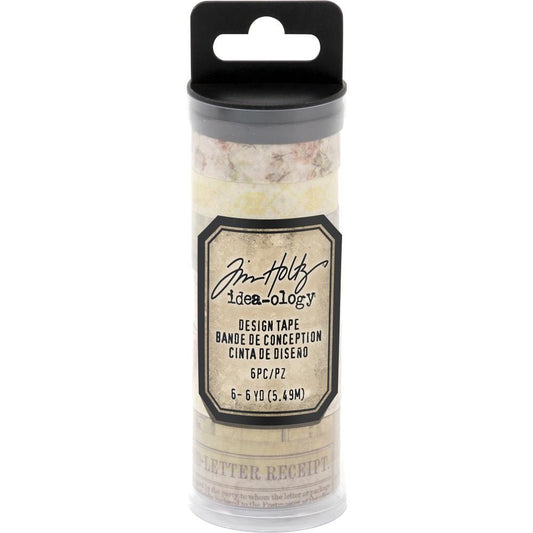
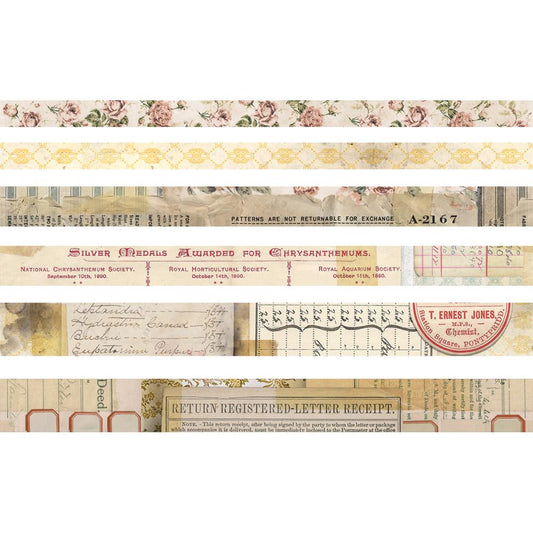
- Tim Holtz Tidings Design Tape (link to all washi tape)
- Tim Holtz Idea-Ology Findings (Tiny Metal Bells, Star Fasteners, Jingle Bells and Typed Tokens)
- Distress Ink Pads (Antique Linen (regular and oxides), Pumice Stone, Black Soot, Bundled Sage)
- Archival Ink Pads (I used Red Geranium, Fern Green, Jet Black)
- Glossy Accents
- Waterbrush
- Tim Holtz Snips
By the way, here's a link to everything by Tim ... use the drop down menu to choose different collections and types of treasure. The search bar works too :)
How this card was made...
I used a scrap (dummy) card to line up everything on the stamp platform, especially with the Christmas wording, holly and big star. Each step was printed multiple times before moving along to the next step. If you're making 10 cards, then stamp each step 10 times before moving along to the next stamp.
Using the stamp platform made it so much faster and once in place, I didn't need to worry about getting the position in the same place each time. The magnets I had as guides rather than used to hold down the card. Once I had the stamp in place it was so easy - lift the lid, swap piece of card, add ink to the stamp, close the lid, repeat :)

Step 1 - The background was created in this order...
I didn't actually create it in this order... I was all over the place! If I do them again, the following order is what I recommend.
 The images were stamped directly onto the unfolded card base with a piece of paper covering the back so I got a nice clean edge along the centre fold.
1 ... Tim's Halftones background stamp was used for the top and bottom edges of the card (and speckles in the middle). It was printed three times.
First with Distress Inks in Antique Linen Oxide over the whole stamp. Next with Pumice Stone only on the short edges of the stamp (top and bottom of the card). Thirdly, flip the stamp around (180) and print again using Antique Linen (regular).
2 ... Change the background stamp to the words from Sparkles and Christmas stamp set. This is inked with Black Soot Distress Ink only on the last 4-5 lines of text, and lined up so the actual sentiment, Merry Christmas, was 2 lines up from the base.
3 ... Next are the IndigoBlu Rugged Edge border stamps. They're printed using the platform at the same time, inked with Bundled Sage Distress Ink. The honeycomb border is along the bottom, just above the Merry Christmas wording while the ink splats are on both sides.
4 ... The holly across the top is from Dyan Reaveley's Christmas Borders stamp set. It is stamped with the green Archival ink.
6 ... The baubles are also from Dyan's Christmas Borders stamp set. I cut up the strip of decorations and placed 4 them on the stamp platform lined up with the holly. They're stamped using the dark red Archival ink.
7 ... The star of wonder stamp was inked with both Antique Linen Oxide and Pumice Stone at the same time... ink the whole image with Antique Linen and just the star's points with Pumice Stone.
8 ... The music and gramophone (from Tiny Things set 2) were stamped with Black Soot Distress Ink.

Step 2 ... Crazy Cat
I stamped out the Crazy Cat in black Archival ink on white card. Each cat was then cut out using the coordinating die template through the groovy little Sidekick.
 This cat is just small enough to fit through the Sidekick :) It didn't take me long to cut out over 50 cats! A few times I was off the mark, but most of the time they came out perfectly lined up, including the tiny whiskers.
I do like my Cuttlebug but the Sidekick made this process so much easier and faster - I didn't have to spend time juggling which plates, pads and shims to use. For some reason I need to do this every time I use my bug, obviously its a user problem as the bug itself always works beautifully (once I get the plates in the right order! lol). The Sidekick cuts perfectly for every piece too... on one roll - the pieces pop out without extra leverage required.
The only thing is it only cuts one sheet of card at a time but its so fast it doesn't matter :)
I only ended up colouring one cat (pictured below). I used the Jane Davenport Mermaid Markers in pale blue and grey (Lagoon and Driftwood)... I decided the card had enough eclectic elements and more colour on a cat wasn't needed. So I gave him a shiny star for a collar instead :)

Step 3 ... Baubles
For the big red bauble near the cat's front paw, I stamped out dozens of Dylusions baubles (from Christmas Borders set) on a single sheet of white card using the dark red Archival ink. These are coloured with Jane Davenport Mixed Media Mermaid Markers in red (Lobster) with shading in dark brown (Reef). The stars and stripes were coloured with metallic markers in gold and silver. Once dry, they were all handcut with scissors.

I love colouring ... I used Mermaid Markers for all the holly, berries and baubles. The holly was coloured using Seaweed and Kelp (light and dark green) with red (Lobster) for the berries. Once dry, I added red Enamel Accents to a couple of cards, then changed it to red Stickles (glitter glue).
The hanging baubles were coloured using Lobster with Reef (as before, all red with the brown for shading) and Lagoon with Squid Ink (all light blue with the dark blue for shading). Once dry, they were detailed with the gold and silver metallic markers, highlighted with Star Dust Stickles (glitter glue) and a dash of Glossy Accents.

Smaller baubles are all made using the ball of wool die template from Crazy Cats. After cutting out the cats, I used the scraps and placed the wool die everywhere it would fit... amazingly enough, hardly any paper was thrown away!
These small baubles were painted using a variety of colours of Gansai Tambi watercolours with Mermaid Markers. I used gold with copper, silver with hint of purple, red (Lobster MM) with a darker red, blue (Lagoon MM) with indigo. Once dry, they were painted with Iridescent medium and then left to dry again. Star Dust Stickles was added after they were glued in place on the cards.

Step 4 ... Tree branches
These branches were made using the little tree die from 'Home for the Holidays' (the Sizzix die set with the groovy car carrying the Christmas tree on its roof).
 Using the Sidekick, I cut out dozens of little tree branches out of watercolour card.
Each branch was handcoloured one at a time using 3 Mermaid Markers. First Bali Blue (pale blue-green all over), then Seaweed (bright green splashed around the centre and some tips), and Kelp (dark green on the bases, sometimes up the centre).
The colours blended together beautifully creating even more hues of green. Love it.

Step 5 ... Putting all together
Washi tape is along the bottom of the card ... green glitter and black/white phrases stuck over and under the stamped wording of Merry Christmas.
 I used Glossy Accents to glue everything on the page because I know it will stay put. Its a fantastic strong glue that doesn't go yellow with age. Its also fantastic as a 3-dimensional varnish to make clear enamel dots :)
My other favourite that is non-yellowing, Jewel-It, is a fantastic glue too but Glossy dries faster. You could use any adhesive, glue stick, matte medium, tape ... whatever is closest at hand!
So I don't use too much glue, I use my finger to dab the glue from my craft sheet onto the leaves and finer pieces (rather than straight from the bottle or with a brush). This ensure it doesn't leak out the edges oozing glue everywhere.
I placed the cat first, only gluing the body and head in place, leaving the paws and tail loose so I could move bells and baubles around and under them. Once happy with placement, they got stuck down.
Step 6 ... Adding Sparkle Everywhere
 Shimmery golds, silvers and glitter glue was added to all the baubles. Its amazing the difference a bit o sparkle does to a card.
Star brad fasteners were attached to some of the stars and baubles. Mirrored stars were glued here and there. Some cards even had some tiny metal bells, jingly baubles and other Idea-Ology trinkets added to the tree.
Thanks so much for reading this far... I realise its a bit long! lol :) Its been a wonderful crafty creative time in my studio. Loved every moment!
Hope it made you smile and maybe even inspired to have a go yourself. Sing out if you need a hand, I'm here to help anytime.
Happy Creative Day!
:)
Jenny
