
How to Trim Darkroom Door Stamp Sets
I love Darkroom Door stamps! There are so many ways to use them - as backgrounds of cards, featured in journals, ATCs (Artist Trading Cards), on mixed media, part of a canvas, used on a scrapbook page - anything at all.
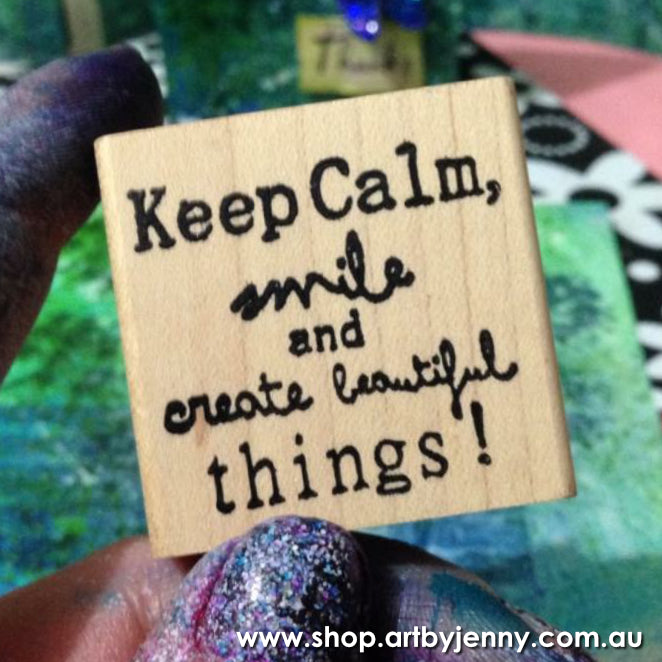
Scroll down past these love birds and pretty green flowers for easy to follow instructions :)

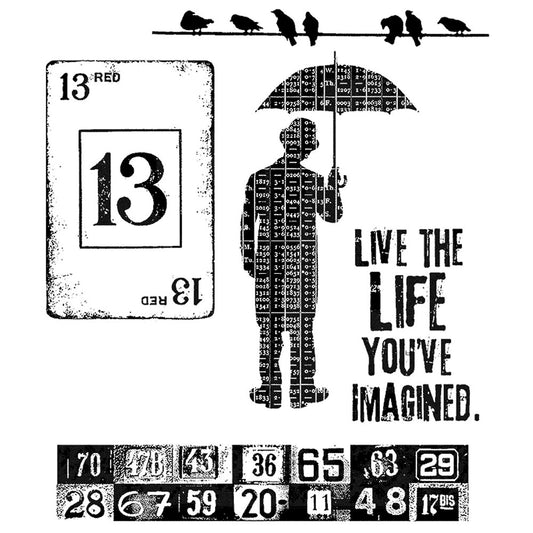
This photo (above) shows my ATCs featuring the pair of love birds and type from the stamp set "Love Birds". The background was created using the "Feathers" stamp set.
The quality of these stamps is superb. Every image is easy to ink up and prints beautifully every time, just as designed - not squashed or missing fine details like some clear stamps do (for me).
I may appear a bit biased as I sell Darkroom Door stamps, but I do love them (which is WHY I choose to sell them).

The gorgeous green card above is by Godelieve Tijskens of Stamping Mathilda, talented artist and designer for Darkroom Door. Big thank yous go to Godelieve for the use of this image :)
The only thing I've heard is tricky is trimming around each image or word. While the quotes, background and eclectic stamps by Darkroom Door are ready to use straight out of the packet (apart from taking off the paper backing), the stamp sets require a little preparation before use.
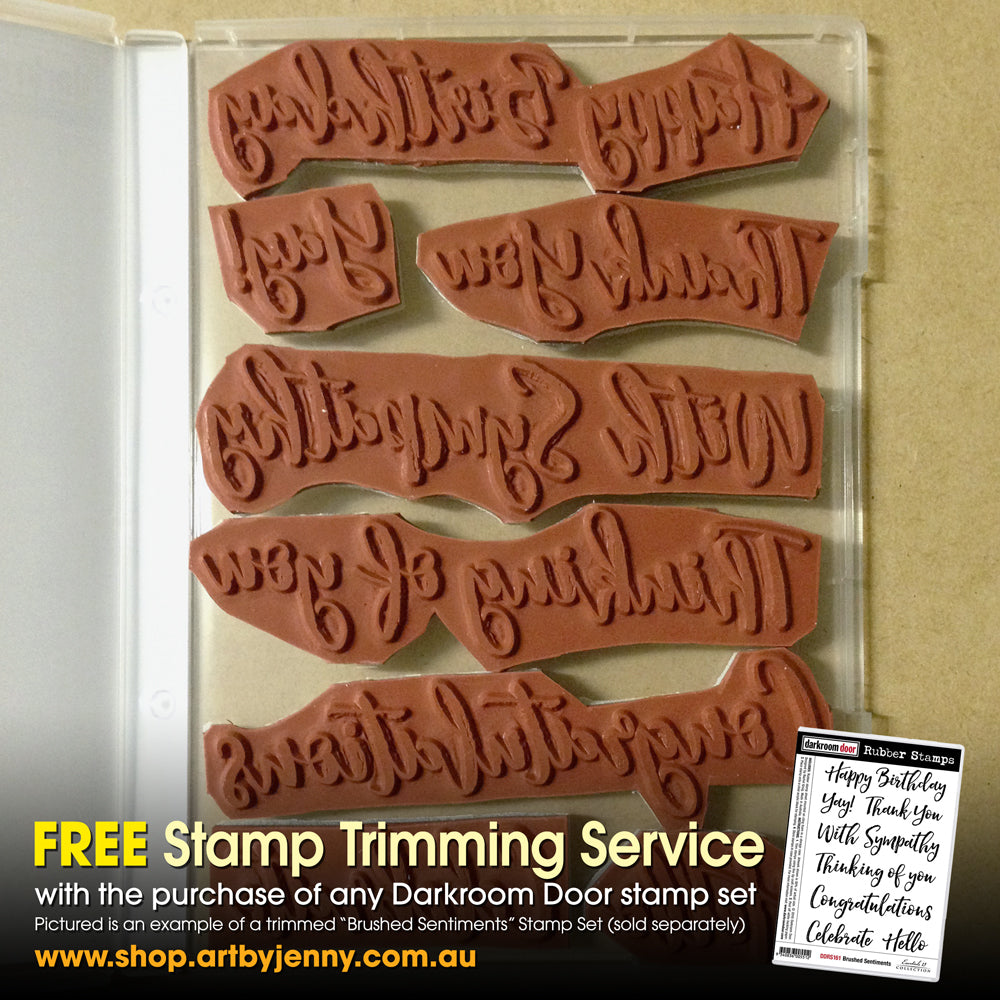
Click this link to add my FREE Stamp Trimming Service to your order
How to Trim Your Darkroom Door Stamps
Preparation
All you need is a good strong pair of scissors and your stamps. Be careful, scissors and snips are sharp!
A craft knife is not ideal because they can easily slip on the rubber and spongy foam backing.
Step 1
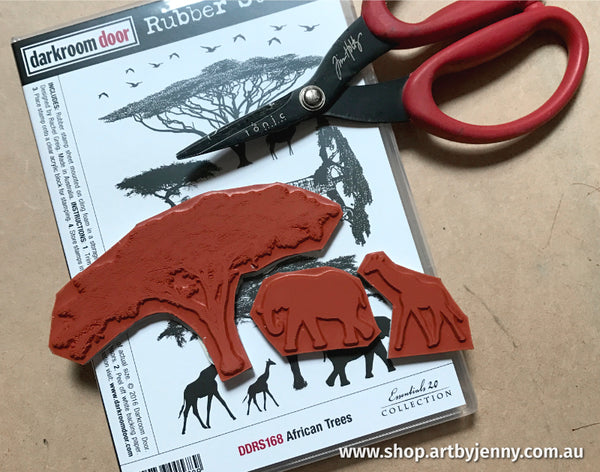
I prefer to use my Tim Scissors (Tim Holtz Tonic Serrated Scissors). They are sharp and strong, great for the stretchy rubber - plus the serrated blades grip the rubber as you cut, allowing you to cut closely with precision and safety.
The Darkroom Door stamps sets are made as one rectangular piece of rubber with a sheet of white paper protecting the cling foam backing.
Step 2
Its easier to cut apart the rubber with the paper backing left on.
Holding the stamp sheet with the rubber image facing you, cut carefully around all the designs or just the one you require.
I usually trim the whole set at once, then they're ready to use whenever I need them.


Step 3
The excess (below) can be reused as plain, geometric stamps like squares, triangles, circles and polygons. Perfect for making mosaics, adding interest to backgrounds and filling large areas with abstract designs. Let your imagination be your guide!

Step 4 ... Using your newly trimmed stamps
Next, peel off white backing paper (shown in the above photo) and place the cling foam side onto a clear acrylic block or stamp platform.
Colour the image with Distress markers, ink, stains, paints or press into texture paste or gesso. Be sure to wash straight away so the texture pastes, gessos and other mediums do not dry on the stamps.
Store your stamp set in the handy storage case provided with each set.
Click here to see all stamps by Darkroom Door
Click here to see the Tim Scissors aka Tim Holtz Tonic Scissors