Butterfly Flower Garden Art Journal Page
Butterflies are incredible creatures that are in thousands of different shapes, sizes and colours... such variation - some wander for thousands and thousands of kms, others stay close to home, some live such short lives. All are extroardinary and beautiful.
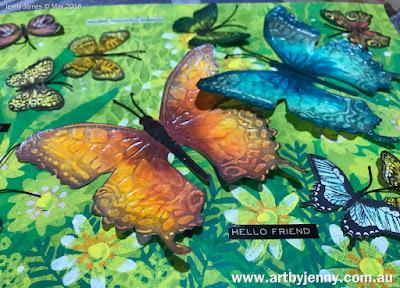
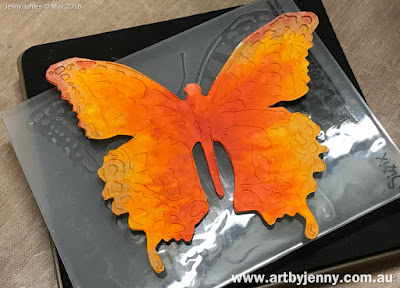
The above photo is a closeup my art journal page covered in beautiful flying creatures made from Tim Holtz Stamps, Framelits, Bigz Die and Embossing Folder. The theme was "Exotic" and is part of the Australian Art Journal Swap
(click here to visit the AAJS blog).
I've also used Dylusions paints, Jane Davenport Mermaid Markers and Tim Holtz Foam Stamps to create a magical garden for these exotic beauties.
Here's a quick reference list of treasures used...
- Dylusions Mixed Media Art Journals
- Strathmore Paper Pad - Mixed Media - Series 400
- Dylusions Acrylic Paint
- Ink Blending Tool - Mini Round
- Ink Blending Tool - Mini Round Replacement Foam Pads
- Detail Blending Tool - Double Ended - 5 Pack
- Acrylic Stamping Blocks
- Tim Holtz Stamps, Flutter
- Tim Holtz Framelits, Flutter
- Tim Holtz Bigz Die and Texture Fades, Butterfly
- Tim Holtz Stencils
... Pines, Scribbles, Leafy, Feathers, Flourish
- Darkroom Door Stencils
... Fern, Blossom
- Tim Holtz Idea-Ology Cling Foam Stamps - Cutout Funky Floral
- Ranger Black Archival Ink Pad and Reinker
- Jane Davenport Mermaid Markers
- Tim Holtz Cotton Thread
- Ranger Wonder Tape Double Sided Adhesive
- Wink of Stella Shimmer Paint Pens
- Winsor & Newton Iridescent Medium
- Sidekick Die Cutting Machine
- Cuttlebug Die Cutting Machine (or use a Big Shot, Vagabond or other die cutting machine - so many to choose from. Jane's even getting one under her brand too, she's working with Spellbinders to make a pretty blue one covered in mermaids!)
- Tim Holtz Stickers, Metallic Quotations
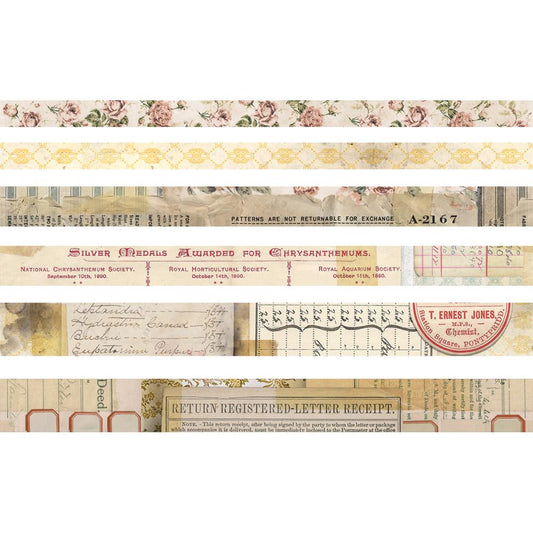
- Tim Holtz Washi Tape, Idea-Ology Chit Chat
If you need a hand finding anything or would like to order something, sing out anytime :)
The Background

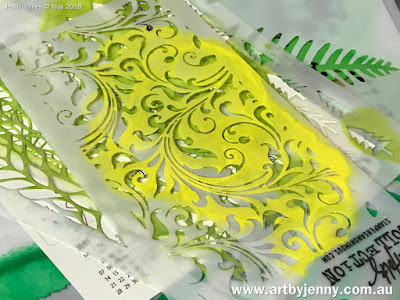
The first layer (above) was simply Lemon Zest and Dirty Martini, smooshed all over the page then left to dry as I sifted through my stencils.
Using the foam blending tool, I blended the Tim Holtz Leafy and Feather stencils using just the Dirty Martini paint.
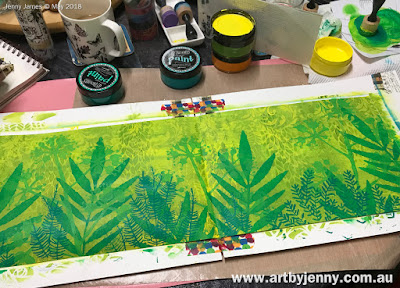
When leaving your pot (or jar) of paint open for a while, make sure you add a spray of water before closing again - this will ensure your paint stays beautifully fluid to the last drop.
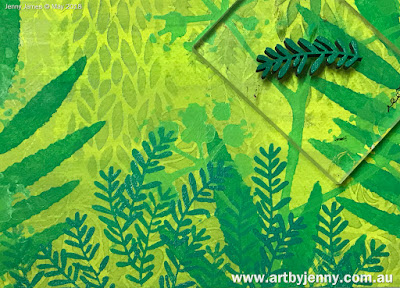
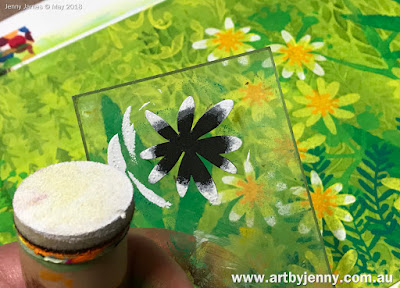
To paint the flowers I used Lemon Zest and Pure Sunshine... the fab thing about foam stamps (apart from their cool shapes and not having to cut apart potatoes!) is that you can see exactly where to overlay the image when printing with multiple colours.
The Butterflies
As you can see above, I use one piece of cotton and bend it under the tape.
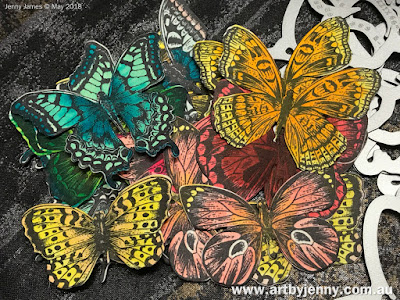
To make them, I stamped them all using an Archival black ink pad. I was going to use colourful inks, but our encyclopaedia shows nearly all butterflies have either black, white or brown outlines.
One day Sizzix will make dies for butterflies and dragonflies with all their anatomy in tact. Maybe even embossing and cutting at the same time. Have you seen the Impresslits yet? Very clever!
After adding antennae, inking all the edges and painting the bodies, I added a splash of shimmer using Wink of Stella... black for the bodies and clear for the wings.
Finishing the Art Journal Page

Placing elements on a page to make it appear like it was random isn't as easy as it seems... I started by letting them fall wherever they wanted but it was a tad lopsided.
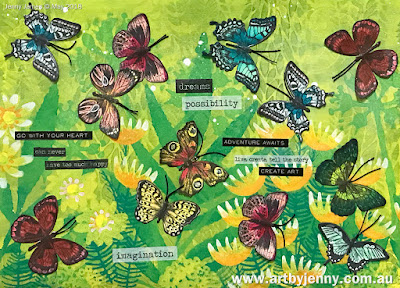
All butterflies were glued down with the double sided tape. I didn't add more, I used the same piece that held on the antennae, allowing all their wings to be free to fly.
I then added thoughtful words and sayings like 'go with your heart', 'can never have too much happy' and 'adventure awaits' using Tim's stickers and washi tape.
Above shows the completed left hand side of the spread and below shows the right hand side.
So there we have it. A completed flock of flutterbies and butterflies, almost as beautiful as what Mother Nature creates :) I love moths, caterpillars and dragonflies too! They're all incredible!
Thanks for reading my blog :) Hope these butterflies made you smile and inspired you to paint, colour and create!Happy Creative Day!
:)
Jenny
All treasures available from my online shop at www.shop.artbyjenny.com.au :)
