
Spirals of Colour with Cool Cats
Well... here I am, disguised as a responsible adult 😂🌻🎨🖖
Dyan's groovy stamps arrived on Thursday and to reward myself for getting the bookkeeping finished, I got to play with them! Like I need a reason! 🤣
On a sidequest, I found the 'live long and prosper' hand in my emojis 🖖🤣 Goes perfectly with artying!
This blog post shows you how I used Dyan Reaveley's Dylusions ultra bright acrylic paints, Dina Wakley 'Woodlands' stamp set, watercolour pencils and variety of stencils with the Dylusions 'Button It', 'Spiralicious' and other Dylusions stamps to create a fun colourful scene.
The page features a background in black with doodled spirals around bright green, pink and yellow patterned circles, with stamped images of cats, flowers, Churchill the dog on a neon pink toadstool, girl wearing an octopus, flying bees, spotty bluebird, and paper dolls. Wisdom from the heart was "written" in stickers (Dylusions Bigger Back Chat and Tim Holtz Idea-Ology Small Talk).

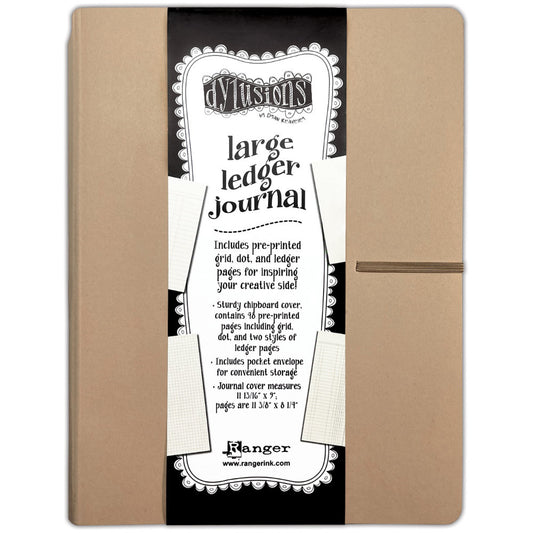
Above is the finished art journal page inside my Dylusions 9x12 inch Creative Ledger Journal on a ledger and dot-grid pair of pages.
Stamps used ...
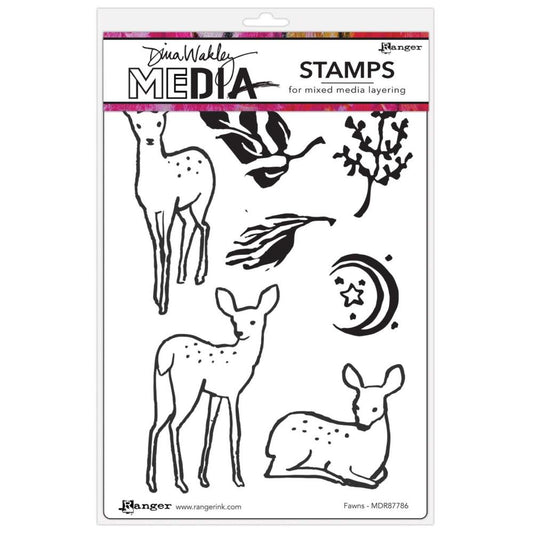
- Dina Wakley MEdia - Woodland (hedgehog).
- Dylusions by Dyan Reaveley - Button It (cat heads, flowers), Spiralicious (hilly lower edge), Churchill and Friends (dog on toadstool, sleeping cat, sitting cat), Stevie Baby (paper dolls), Get Your Rocks On (patterns), The Ties The Limit (patterns), Special Branch (leaves), It's All in the Mind (girl with oxtopus hat), Toadstool Town (bees).
Colours used ...
- Background made with Dylusions acrylic paint in Lemon Drop, Sour Appletini, Mango Punch, Tropical Sangria, Blue Lagoon, Black Marble.
- Colouring done using Distress Watercolour Pencils in Salvaged Patina, Salty Ocean, Mowed Lawn, Frayed Burlap, Wild Honey, Mustard Seed, Scorched Timber, Frayed Burlap. Derwent Inktense pencils in Sun Yellow, Golden Yellow, Deep Rose, Charcoal Grey. Dina Wakley MEdia Scribble Stick in Stoked (neon pink).
Arty Tools ... Tim Holtz large white glass media mat, Ranger foam ink blending tools, Posca paint pens, Sharpie markers, a water-filled waterbrush (aquabrush), Dylusions glue stick, Tim Holtz Recoil Snips, sheets of mixed media paper, Dylusions white adhesive canvas (sticky back canvas), Dina Wakley MEdia Low Tack Masking Tape.
How the Art Evolved ...
First, how to decide upon colours and patterns.

Above, with my Dylusions colour chart by my side, I chose ultra brights... love using neons and bright happy colours!

Next, which stencils... I chose small, and designs that were different to each other so when layered, I could still see their patterns (just because) - Dylusions Golden Nuggets, Crazy Paving, Arrows (retired), Dina Wakley MEdia Painting Circles (retired), Cross Hatch.

Starting with the lightest colour, I applied paint through the various stencils, one colour at a time. Put a drop of paint on the mat and smoosh the foam tool into the paint to pick up the colour. Hold the stencil still and swipe/wipe/swirl the foam tool over the stencil to apply paint.

When the paint was dry, I inked up part of the Dylusions Spiralicious Stamp with Ranger Archival black ink and pressed onto the page to print the design. I repeated this along the base, using paper masks to cover areas where the design overlapped.

Stamping circles of patterns is easy when you have a circle stencil. If you don't have one, simply cut out a circle from paper or plastic sheet to use. I've put pink masking tape around the largest circle to give it a wider border.
Inside the circle, I stamped the spiral design from the Dylusions stamp set 'Get Your Rocks On'. around the edge in black.

Then I continued to print other stamp designs through different sized circles over the whole page.

Using a black marker, I drew around all the pretty patterned circles and drew smalller ones.

I used a brush to paint around the outside of all the circles using black acrylic paint. This photo shows the book on it's side... I turned the book around as I painted each area.

Deciding what images, elements and characters to use is decided by placing everything at once and removing those that don't belong.

I've cut out the stamped images using Recoil Snips, sticking everything down with Dylusions glue stick as I went, so they'd stop moving about.

Using the white sheets of adhesive backed canvas, I stamped the cat heads and flowers feom Dylusions 'Button It' stamp set then cut them out with the Recoil Snips.

I used aceylic paint pens in pale pastel colours to doodle and draw spirals, spots, dotted lines, dashes, wings and spots over the black background.

The above photo is a progress photo, showing everything stuck down, quotes added and ready for whatever was to happen next.

The above close up photo shows how the stamped sticky-back canvas of the cat heat over a flower looks before being coloured in. Below is how it looked afterwards.

Colouring adhesive backed canvas with watercolours takes a bit longer to dry, and worth every second!

All characters and layered elements have been coloured using Distress watercolour pencils, Derwent Inktense pencils, Dina's Stoked neon pink Scribble Stick and a water-filled waterbrush. I do love to colour in ... I started with the purple-pink 'Rose' Derwent Inktense and the rest followed.


Colouring is so soothing for the soul :)


Adding thoughts to a page makes it feel finished, even if I add them halfway through the project! I added Tim Holtz Idea-ology Small Talk Stickers to write them down : Keep some room in your heart for thw unimaginable - Throw kindness around like confetti - I just want to make nice things.
I hope this blog post helps and or inspires you to have a go, be creative however it makes you smile. Thank you for visiting, spending time in my arty crafty world.
Happy Creative Days!
🖖🎨🌻😻
Jenny
Remember ... there are no mistakes in art so take a breath and dive in. Enjoy every creative moment as you smoosh, splash, stamp and colour!