
Gnome Place Like Home - Grow a Garden with Stamps
Stamping, masking, stamping, colouring, cutting out, sticking down, colour some more ... they're the basics of this friendly garden scene featuring Dyan Reaveley's fun Dylusions stamps of gnomes, toadstools, catshooms, a frog and a garden. Read on for more details and colourful photos :)
Gather the essentials...
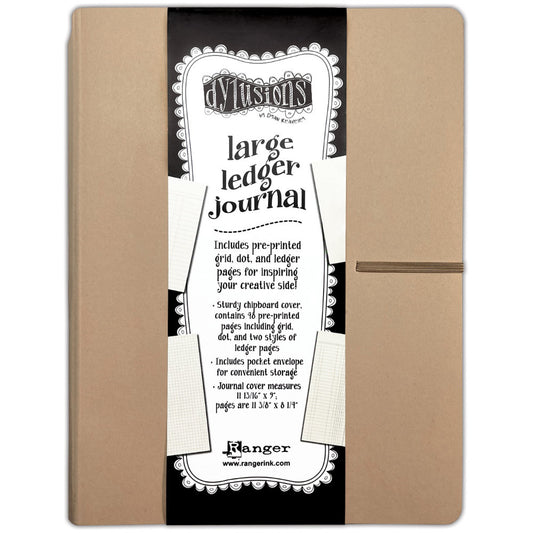
- favourite journal or sheet of card (I've used the Dylusions Ledger Journal).
- loose sheets of smooth watercolour or mixed media paper.
- lightweight scrap paper for masking.
- Ranger Archival Ink Pads in greens and black.
- Distress Watercolour Pencils.
- favourite colouring pencils (mine are Caran D'Ache Luminance, Derwent Inktense and Tim's Distress Watercolours - they all blend so beautifully together too).
- Dylusions Glue Stick or Distress Collage Medium (bottle with fine tip).
- Tim Holtz Tonic Studios Recoil Snips (these are weird to hold at first but cut beautifully and do not flare up the ol' arthritus.
- Painter's tape or washi tape.
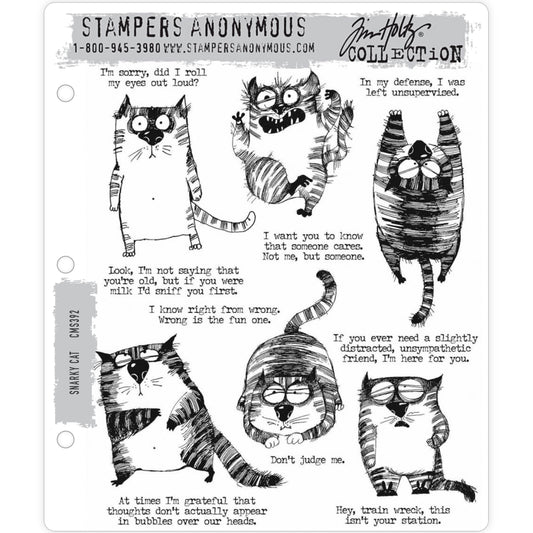
- laughter lines for amusement using Tim Holtz Idea-Ology Small Talk Snarky Stickers (also ideal are Snarky Big Chat, Chit Chat, Small Talk and Dylusions Bigger Back Chat).
- Dylusions Shimmer Spray (Lemon Zest, Pure Sunshine, Cherry Pie).
- Ranger or Dylusions Stickles glitter glue in Start Dust or Diamond.
- fine black pen for doodling.
- white paint pen for highlights.
- time to relax and colour.
Stamps used for this page are Dyan Reaveley's Dulusions...
- No Place Like Gnome
- Toadstool Tales
- Stevie Baby
- Gnome Sweet Gnome
- Get Your Rocks On
- Special Branch
- Spiralicious
- Daisy Dreams
I meant to behave, but there were too many other options.

To create a scene like this, start with one image and work your way around the page - no rules about what goes where and don't worry about overlapping (see the snail and daisies) as you can easily create extras to layer over the top.
I started with the large toadstool cottage from Dylusions stamp set 'Toadstool Tales'. First ink up the stamp with black Archival ink to print onto the page and a second one onto scrap paper to make a mask. Cut out the scrap piece, place a loop of masking or washi tape to the back and place over the toadstool in the book. I made some masks for the little toadstool stumps too.

Masks will enable you to stamp an image to look like it is behind another. Leave the masks in place until you have finished stamping out the main scene.

Using colourful ink for outlines gives a softer look to stamped images and is great for background elements and filling in areas instead of colouring.
Here I've used Dirty Martini Dylusions Archival Ink to grow the foliage and fill in the background white space.

Keep adding images until you have a scene or run out of space, whichever happens first ... sometimes it can look cluttered at this point too! Especially if like me, you get carried away. Once the colouring starts, it breaks up all the linework and defines shapes, changing how it all looks.

To create collage fodder and extra elements, stamp extra images on loose sheets of smooth watercolour or mixed media paper to use for layering and collage.
Cut out your pieces with fine sharp scissors (I use Tim's Tonic Recoil small scissors or snips). Some of Dyan's stamp sets have matching die cutting templates called 'Spellbinders Etched Dies' which cuts around an image quickly and easily, leaving a small white border around each design. Ideal for cutting out flowers, twirly weeds, the snail and gnomes.
I usually leave a stamped scene to sit open on my table overnight to ensure the ink is totally dry or if in a hurry, I use the Ranger Heat Tool to heat-set the ink.

Colouring ... there are no rules, simply choose colours based on what you like to use. I have recently discovered that some toadstools are blue which is so cool, so if stuck for ideas, Mother Nature creates so many combinations of colour that work beautifully together - gardens, parks, ocean, skies, rainforests, animals, fish, beetles, butterflies, birds and of course, rainbows.
I used all my favourites to colour in my pages - Distress Watercolour pencils, Caran D'Ache Luminance pencils and Derwent Inktense pencils.
Start lightly with blending as it gives you more control over rendering, shaping and shadows. You could use an eraser to remove colour or if watercolours or inks, brush on water and dab the area with a dry cloth to lift the pigment.

White highlights were drawn and dotted on using white paint pen with a brush nib. I love using the Sharpie Creative Marker as it is a paint pen filled with acrylic paint and the pen does not need shaking or priming, simply storing horizontally.
Colour a crown using Dylusions or Distress shimmer sprays in golden yellows, and apply glitter glue to make it sparkle.
Relax, we're all crazy... it's not a competition.

After you've finished colouring, add your collage fodder to complete your page. Extra layers are great for dimension and or cover up botched areas. Adhere in place using glue stick, matte medium, Zots adhesive spots or double sided tape.

Lastly, apply glitter glue and glossy highlights ... for the flower centres, I used Stickles Diamond glitter glue over the yellow coloured centres then Ranger's Glossy Accents over the top. It takes a while to cure but gives a stunning effect!

Tell a story or add wisdom, or both - use your own handwriting, stamp out letters or words, diecut letters or words, or simply enjoy a wander through your stickers.

Thanks so much for visiting the Art by Jenny Creative Space, where we create a life less ordinary through art. I hope it helps and inspires you to make art today!
Happy Creative Days!
:)
Jenny