Making Art a Priority... Every Day
I'm getting closer to creating some sort of art every single day! Its awesome :)
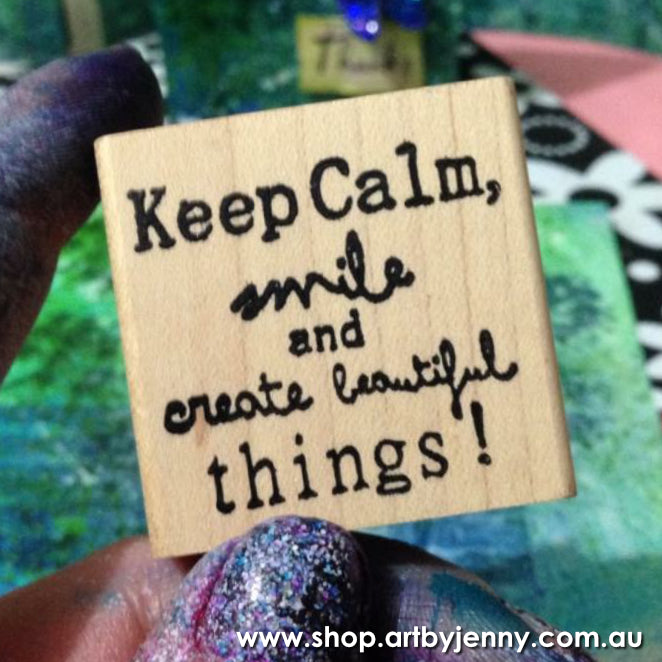
This week I finished off my little thank you cards that were created using Dylusions Ink Spray and Darkroom Door stamps. All the dragonflies are now attached to stop them flying away, and the insides use the "Stay calm, smile and create beautiful things" stamp that I chatted about here. On the back is my logo and contact details... giving them a professional finish.
Its always good to have a professional polish on things, even handcreated things :) Its like putting decorations on a cake... all cakes look fantastic with icing, but decorations (whether handmade icing roses or plastic 'happy birthday' signs) make them look amazing.
This week I joined in an art swap with a Facebook craft group. Its a great group - we all encourage each other to be crafty and creative - the amount of beautiful artwork and crafted items everybody makes every day is incredible. It inspires me to ignore dishes and housework and get into my much loved studio.
Of course, then I get stressed out that the house is a mess or we've run out of clean clothes, but I'm getting closer to finding some sort of balance... which is nice.
The swap I joined was to make 2 flat (like large bookmarks) handcrafted spools, or cotton reels. I started with a sheet of Tim Holtz's Grungeboard (which smells like leather, love it) and cut out 2 spool shapes (I like the old wooden spools, so used that shape). I then trimmed to size a sheet of orange, brown and gold printed paper that I had in my paper stash. I'd made it using my Gelli Arts Gelli printing plate, paints and stencils.
On the back I used a piece of what I call lace paper. Its a white, handmade looking paper with raised flowers trailing all over one side. I painted the lace paper with Liquitex paints in yellows and brown mixed with a matte medium (which can be used as a glue, sealer or varnish).
Once dry, I sanded the edges - it gives them a great smooth finish while a the same time, ensures the edges don't get tattered (unless you want them tattered, which I didn't). Then inked the edges using the beautiful brown walnut Distress ink with a blender tool (as you do!).
Next, I gathered hessian leftovers from the previous day's craft session and wrapped them around the spool, making it look like a spool of string. I realise the idea is to make the spools look like something else other than a spool, but the embroider in me just couldn't resist!!!
Of course they needed a needle as well - made from Grungeboard and silver Inca paste (for something different to paint). Usually Inca paste is polished to a high sheen once dry but the more I polished the more the paste came off... it didn't like adhering to the porous board much, so I've left it 'raw' Inca. They're not as shiny as they could be but they look ok, sort of like oversized, well used needles.
They were finished but missing something... so I played around with my border punches and added it to both sides of the spools. Then added a few of the scraps as well.
They fly out tonight on their way to Canada to be with their new owner. I love them and hopefully my swap partner will too!
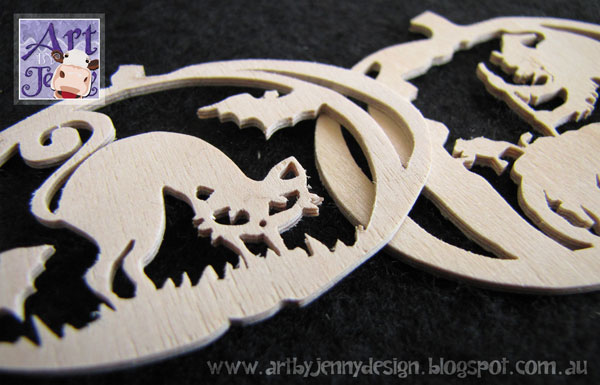
I'm off to the studio now to take photos of the new wooden shapes the talented Ray of Wood'n Marbles has created - Halloween witches and cats! They're ATC sized and are totally gorgeous.
Aren't they awesome? There are two sizes - small and large - and they're available exclusively at my Art by Jenny online shop. All wooden shapes in my shop are also available in watercolour paper, smooth white cardstock or textured cardstock (black or white) - contact me to order yours today!
Thanks for reading my blog and I'll see you next time!
Happy Creative Day!
:)
Jenny
