
Palette Paper Makes by Jenny - Orange
I love orange! Here I am having fun with paper, die cuts, Idea-ology, rubons, stencils, scissors, inks and glue with the beautiful orange 8x8inch sheets from the Tim Holtz Idea-ology Palette Paper Collection. 🍑🎨
Scroll down for all the details of how to make the Proud Woman page, happy noteworthy page and the Snarky Cat with Xmas Sisters page.


The Booklet ...

I folded the sheets in half and put them in pairs so that most of the pages had a different design of postage stamps, botanicals, maps and stationery.

I used the Tim Holtz Deckle Trimmer along the long edge and then used the quick drying Dylusions wet glue along the folded edges. Each segment was tucked along the centre of another sheet that was folded twice to create a flat spine about 4mm wide.


The above two photos show the spine held closed with an Idea-ology clip while the glue dried, and a closeup of the deckle trimmed edges.

All three sides of the booklet papers were inked using Ranger's Archival Mini Ink Pads in Dylusions Desert Sand and Distress Spiced Marmalade.
Decorating the Cover and Pages ...

Another new arrival this week was the '49 and Market' Vicki Boutin Irresistible Die Cuts and white Rub-on Transfers. I found these were harder to use than I expected! Not the colouring, that was easy, it was the choosing which ones to use first, they're all amazing!
In the end, I simply tipped out the packs all over my glass mat and using mini foam tools, blended Distress ink over half of them, enjoying seeing all the wonderful patterns emerge.

I used sprays for the chipboard words (to see how they reacted), a bright orange Dylusions Tangerine Dream Ink Spray on 'this' and Distress Oxide Sprays on the others, in Tumbled Glass and Fossilised Amber.
The sprays worked beautifully. I dabbed off the excess which left the design in blends of colour and the resisted areas stayed white. As planned!

These resist pieces will work well with all Tim's Distress techniques 😁
A bit of time was spent rummaging through my tin of Idea-ology ephemera while deciding what to do next and waiting for the resist pieces to dry, always a lovely thing to do! Don't you just love watching colours blend as they dry?

To the background of the booklet cover and one of the inside pages, I applied white rubons and then layered Idea-ology ephemera with some of the colourful Irresistible pieces.


Listen to your heart, it will show you the way!
I love how this page turned out. It started with Dina Wakley's 'Proud Woman' stencil and Black Marble Dylusions paint, then blended Distress Inks in Crackling Campfire, Frayed Burlap and Spiced Marmalade for her hair.

Use a piece of washi tape or low tack masking tape along the side to hold it still.


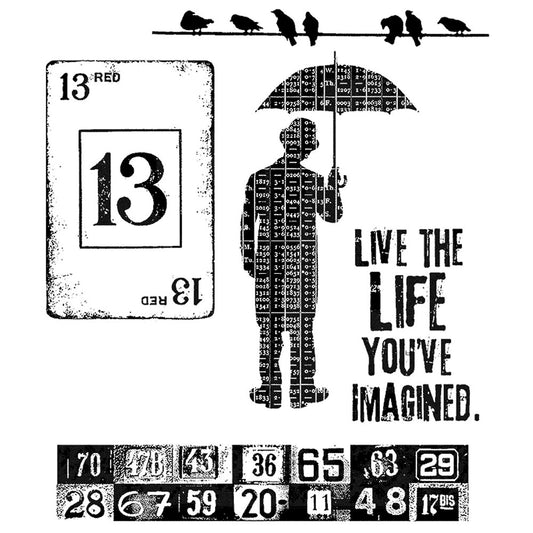
Sharpies were used to colour her eyes before stencilling the phrase from Dina's 'Feel Your Own Magic' stencil with Villainous Potion Distress Oxide Ink.
Her face was painted using Dylusions acrylic paint Desert Sand with Crackling Campfire Distress ink for her lips.

Distress Ink in Dried Marigold, Spiced Marmalade, Saltwater Taffy and Antique Linen were blended through Tim Holtz stencils (Halftone and other spotty designs) over the beautiful orange botanical print.
Lastly, a spot of doodling in white Sharpie and a quote from Tim's Idea-ology Small Talk Stickers finished it off.


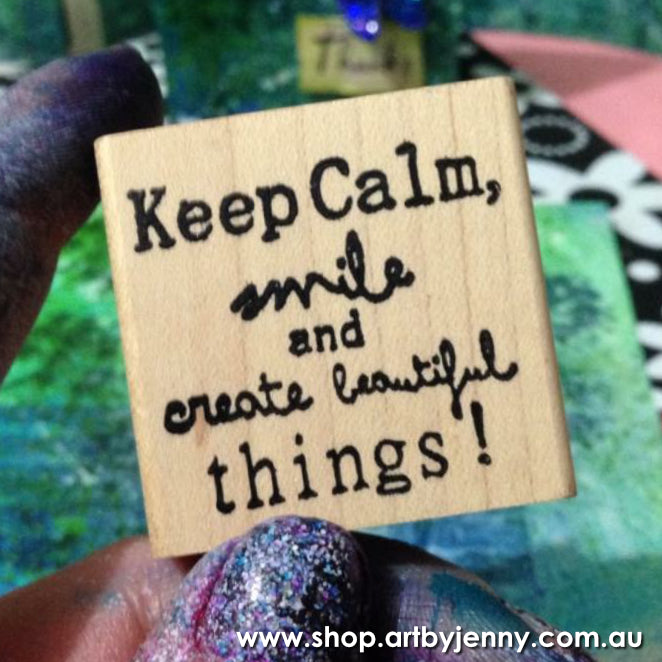
It's a great feeling when you realised you were smiling during as well as after creating artwork!
Time Out ...
The Snarky Cat page started with burnishing pretty white rub-on transfers over the page, then blending Crackling Campfire Distress Ink over them.

With a dry cloth, I buffed off the ink from the rubons and splattered the page with water to create a bubbly Distress effect.

On the opposite page to the rubons, I chose a Tim Holtz stencil with the tangles and bubbles, and spread Distress Crackle Paste through the design.

Before the texture paste dried, I scattered on Distress Embossing Glaze in Speckled Egg and Abandoned Coral.

Somebody didn't take pictures between adding the time out wording and finished the pages!

For the page on the left, I used the Ranger Heat-It tool to melt the embossing powder, added the Irresistible strips I'd coloured with Distress ink and the pair of Idea-ology Paper Dolls.

Their crowns, wands and dresses were painted using Distress Inktense pencils and Stickles Star Dust glitter glue. Picket Fence Distress Crayon was rubbed into the cracked background.
For the page on the right, I outlined the flowers and butterfly with Ranger Stickles Star Dust, dotting Ranger's yellow 3D Perfect Pearls in the flower centres and on the words.

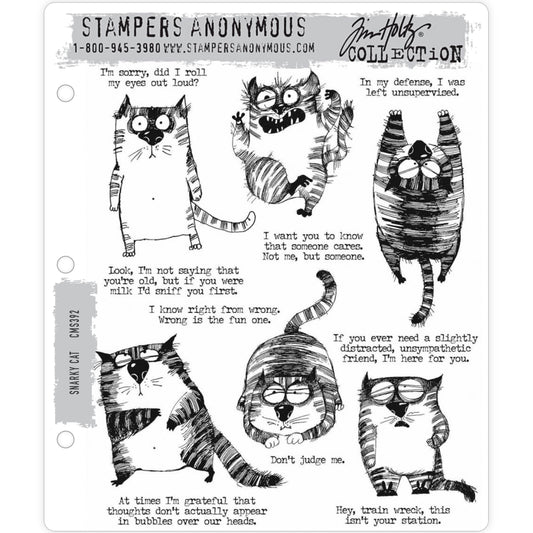
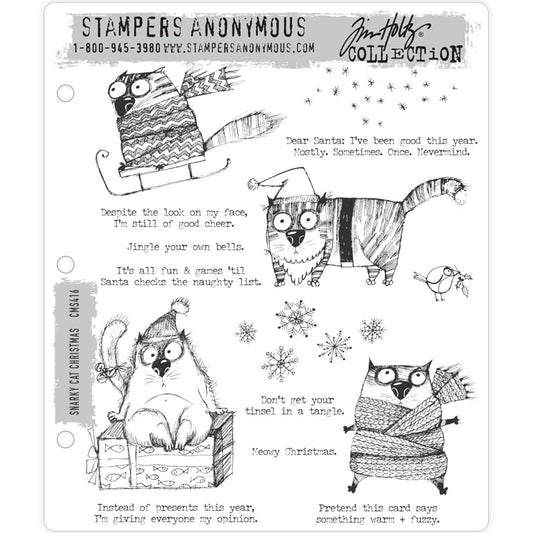
Snarky Cat (Tim Holtz stamp set) was stamped with Archival black ink onto cardstock, cut out and glued in place, hanging around enjoying time out!

Thanks for reading! I hope you like what I've shown and it inspires you to use all your favourite arty treasures together, making art to create smiles!
I must say, the orange Palette Paper Collection has some gorgeous designs to use.
Happy Creative Day!
:)
Jenny