
Gardening with Cats and Flowery Skulls
And now for something different for you to see me to do... stamping and colouring! lol 😂 It is so true, no-one will ever be as entertained by us, as us!
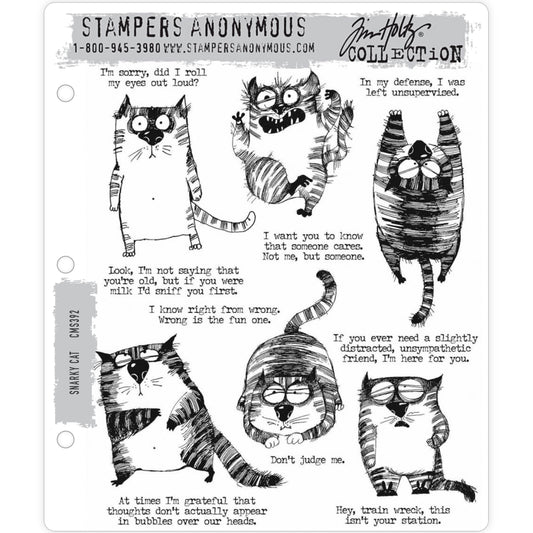
Dyan Reaveley's "Button It" skulls are such friendly cheerful souls who love to wear flower hats and hide in the garden with snoozing cats and buzzing bees.

Dylusions stamps used ... Stripy Curlicues, Everything's Rosy, Oodles of Foliage, Foliage Fillers, Button It, Dinky Dolls set 2 and set 3, Ocean Life, The Bolder the Border.
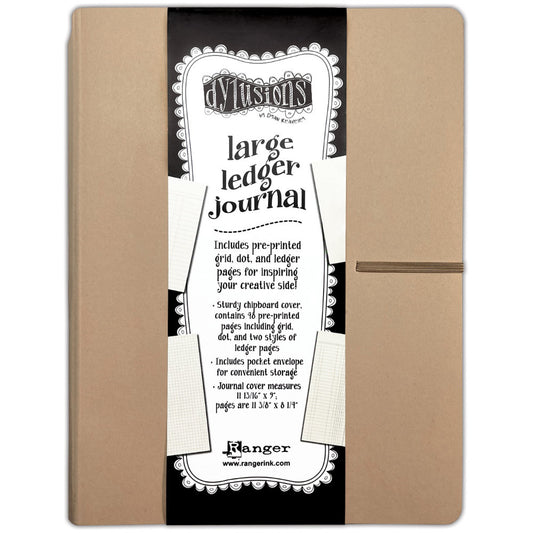
Other arty treasures used ... Distress Watercolour Pencils, Dylusions Caykes and Sticks, Derwent Inktense, Tim Holtz Recoil Scissors, waterfilled waterbrush, paint pens, fine black marker, Tim Holtz Stencils (Code THS102, Halftone THS144), Distress Oxide Ink Pad (Tumbled Glass, Salvaged Patina), Distress Tiny Blending Foam Tools, Distress Archival Black Soot Ink Pad, Dylusions Archival Dirty Martini Mini Ink Pad, Dylusions glue stick, bottle of Dylusions glue, quote from Dylusions Bigger Back Chat stickers, Dina Wakley MEdia Ledger Journal.
How to Grow a Garden for Bees, Cats and Flowery Skulls ...
The whole scene was created using basic techniques - stamping, cutting, colouring, sticking pieces down and having fun!

I began by stamping five flowers from Dylusions 'Button It' across the middle of a pair of pages inside my Dina Wakley MEdia Ledger Journal using the black Archival ink pad.

I stamped the garden along the bottom half of the page, starting with the cool swirly pattern from Dylusions 'Stripy Curlicues', then the spotty flower from 'Stripy Curlicues' and roses from Dylusions 'Everything's Rosy'.
As I worked without a plan, I simply stamped my thoughts in place. I also stamped the same flowers onto mixed media paper, spare pages from the ledger journals by Dyan Reavleley and Dina Wakley.
The pattern around the edge was stamped using the dot dash stamp from Dylusions 'The Bolder The Border' stamp set. Then the round button from Dylusions 'Button It' was stamped along the top, using a scrap of paper on the left and right sides so the circles stopped at the border.

Using a black waterproof fine marker, I drew wings, stingers and faces onto the buttons, turning them into bees! I also wrote a thought I had at the time ... time to be a bee. It made sense at the time! lol :)

On more sheets of mixed media paper and ledger book paper, I stamped out skulls and cats from Dylusions 'Button It', ferns from Dylusions 'Oodles of Foliage', daisies from Dylusions 'Everything's Rosy', little stripy flowers and a large eye from Dylusions 'Foliage Fillers', closed eyes from Dylusions 'Ocean Life', spotty glasses from Dylusions 'Dinky Dolls set 2', eyes and square stripy glasses from Dylusions 'Dinky Dolls set 3'.

As I cut out all of the stamped images, I placed them loosely on the scene. I added a spot of glue on an edge of the pieces so they stayed put while still enabling me to add colour as well as layer other pieces underneath.
Other days I would create the background with masks while stamping, and colour all the pieces before layering the scene together. It doesn't matter which way you create your page, enjoy the process of being crafty :)

Next thing I did was to read through all the Dylusions Bigger Back Chats and Idea-Ology Snarky stickers, then go back to the first one I read and stick that down - happens so many times! lol 😂 It's like shopping for new glasses some days!

Two of the bees had new faces given to them, made by cutting out the centre of a button and using the spots as eyes.
Distress watercolour pencils, Dylusions Caykes and Sticks, Derwent Inktense pencils Caran D'ache watercolour pencils, and a waterbrush filled with water were used to colour in all the images.

The above photo is a closeup of the right hand side of the journal spread so far.

The above photo shows an overview of the whole scene. To the right are a bottle of Dylusions Glue, Tim Holtz Recoil Snips, spare eyes, and a black pen, on top of my Tim Holtz Glass Media Mat.

The blue dots and dashes on the background were applied (using foam blending tools) by blending ink from Salvaged Patina and Tumbled Glass Distress Oxide Ink Pads through Tim Holtz stencils.

Above photo shows an area of blue dots and dashes around bees and flowers.

Above is a close up photo showing the ginger cat with a smiling skull wearing a flowery hat. Smaller green leaves were stamped in Dylusions Dirty Martini Archival Ink directly to the page and coloured in.

Above is a close up photo of the left hand page with the ginger cat and smiling skull, viewed from a different angle.

Above is a close up photo of thr right hand page with two cats and the grinning skull wearing an eye catching flowery hat.
Mark and drawing highlights in a bright white (paint pen or gel pen) brings images to life, gives the illusion of roundness and shine.

The bees agree with me ... nobody will ever be as entertained by us, as us.
This page was created over a few crafty sessions ... initial stamping took a couple of hours one afternoon, then fussy cutting, sticking and colouring images was enjoyed the next night, and the page was finished off on another afternoon.
Thanks for reading! I hope you like what I've shown and it inspires you to use all your favourite arty treasures together, making art to create smiles!
Happy Creative Day!
:)
Jenny