

Sugar Plum Flower Fairies - Stamping and Colouring a Magical Garden
The dance of the sugar plum fairies flying about with friends in a beautiful garden, where all the good things grow. With happy smiles and twinkling eyes, and smiling merry fairy folk.

I've used the gorgeous Tim Holtz stamp sets for this page (Shabby French, Abstract Florals, Crochet Trims, Forgotten Garden) along with stencils, Distress Oxides, inks, pencils, Idea-Ology Transparent Wings, ephemera, Sizzix Dies and more. Read on to see how this page evolved...

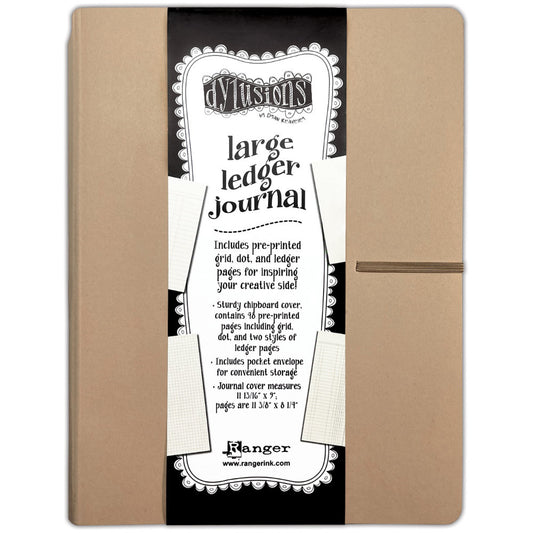
Firstly, stamp your favourites from the set of Tim Holtz Stamps Abstract Florals upside down onto your page using Distress or Dylusions Archival Ink Pads. I've used pink, with the initial idea of them being placement only but I changed my mind! As I often do...! lol This is my Dylusions Square Ledger Journal with its' mixed media paper pages.

The next part is creating the background around your flower fairies using Ranger's Distress and Dyusions Archival Mini Ink Pads in a variety of colours. This way, all your stamped images won't wick away when adding sprays or water as Archival Inks are water-resistant once dry on paper and other porous surfaces.
The stamp set, Crochet Trims, by Tim is precut into strips of beautiful lacy edging with will bend so you can stamp out curved lacework.

To make mine bend even easier, I cut away more rubber between the pretty crochet design. To stamp out your curvy lacework, simply pat the ink pad onto the rubber, then press onto the paper to print.
The first inking (shallow crochet edges), I used Ranger's Vivid Chartreuse with Distress Crushed Olive. For the deeper edge, I used Ranger's Prickly Pear with Distress Salvaged Patina.

Once you've stamped out your top edging, create a delicate garden along the base of the page using Tim's Forgotten Garden stamps. I've used Frayed Burlap for the lower garden.

Above is an overview of the page so far... you can see I ended up with 3 loops of crochet trims along the top of the page.

Still using Archival Ink pads, add some patterns into your background using your favourite texture stamps. I used some backgrounds from the Mr Rabbit and Faded Type stamp sets. I also added the gorgeous little decorative bird from Tim's stamp set, Shabby French.

Once the Archival Inks are dry (in Winter I dry the inks using the Ranger Heat-It hot air tool), gather your favourite colours to colour in the flower fairies. I've used Dina Wakley MEdia Neon Scribble Sticks and Tim's Distress Watercolour Pencils with a paint brush and splash of water.
In this photo above, I kept one of the black on white stamped flowers from Tim's Abstract Florals to help me with placement of shadows and shapes.

I again used the Ranger Heat-It Tool to dry off all the flowers before finishing the background.

To finish the background, I've used Distress Ink Pads and Oxide Ink Pads with Tim's Layering Stencils, Cut Out Shapes no.1 and the spots from Mini Set no.59. Using the Ranger Blending Tools with the domed foams, blend through the stencils over the background, around the fairies and bird. I used scraps of paper to mask off areas I didn't want to add extra colour.

This is the pretty overview after spritzing with water and drying with the heat tool.

The next step if you've not done so already, is to choose your wings and any other pieces you'd like to add to the garden. As you can see from the above photo, I chose my wings before I started colouring. These wings moved around so many times with the only pair that was definite right at the beginning was the bat wings from Tim's Idea-Ology Halloween Paper Dolls pack.

The above photo is how my mind works with collage ... it is utter chaos! lol :)
How this works? I simply rummage through all the pieces from my gatherings of Idea-Ology pieces, Dylusions die cuts and older stamped/coloured images. They are place them about the page, all the time with ideas spinning around in my head. I get to this point when making, roll my eyes at myself because it is far too busy, so take a photo and put it all aside to continue with the actual background.

As you can see, less is more ... while rummaging again, I remembered about the Tim Holtz Sizzix die cuts, Mischievous (cats) and Silhouette Birds, critters which go beautifully with fairies and tea parties.
Everything is glued down with Tim Holtz Distress Collage Medium and Dylusions Glue Stick.


Above is another Silhouette Bird looking down into the Idea-Ology Quote Chip and sticker (where all the good things grow) with an ornate piece and stamped word "weekend" from the Dylusions Dyalog clear stamps collection.
Ta da ... see? All that chaotic mess from earlier is gone. It was useful to dump it all out as it made me narrow down what I really wanted to use :) Time with art, whether rummaging or creating, is always worthwhile.
In the end, I've made a pretty, colourful tea party in a fairy garden using a few of my favourite things. I hope this inspires you to have a go and makes you smile too!
- click here to see all the Tim Holtz treasures -
- click here to visit the Dyan Reaveley Dylusions category -
- click here to check out the Sizzix designs -
- click here to find the Dina Wakley MEdia essentials -
Have a creative Happy day!
:)
Jenny