
Summer Picnic with Maybe Thursday
Every day is a great day to enjoy strawberry tea at a picnic with friends. Stamping and colouring ... something different for me to do! lol 😂 And it is true, everything stops for tea and coffee! Sometimes the art doesn't stop and tea/coffee goes cold. I still drink it though, and yes, even after my brush has been dipped in a few times! 😂 Adds extra flavour 🙃
My Summer picnic page started by simply stamping out the scene in my Dylusions Square Ledger Journal using Ranger's Archival Ink then colouring it over a week, a bit each day. Some areas were dabbled with water, others left dry. My brush tipped Sharpie white paint pen was used for highlights and black fine marker was used for a spot of doodling here nd there.
Extra loose stamped pieces were fussy cut (love my Tim Holtz Recoil Scissors), coloured in and stuck down with Dylusions glue stick. As usual, I stamped and cut out heaps of extras and only used a few. Gotta love a box of prestamped journal fodder to rummage through 😁🎨🌻 Happy Arty Days!
Gather the essentials...
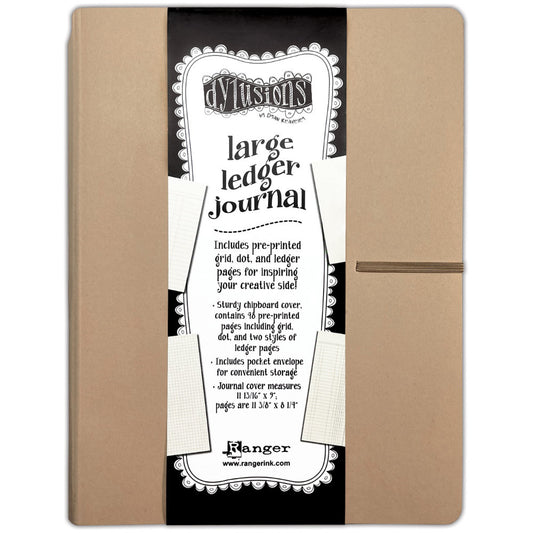
- favourite journal or sheet of card (I've used the Dylusions 8x8 Ledger Journal).
- loose sheets of smooth watercolour or mixed media paper.
- scrap paper for masking and cleaning stamps.
- Ranger Archival Ink Pads in Dirty Martini (green) and Balck Soot.
- your favourite colouring pencils (I love to use Tim Holtz Distress woodless watercolours, Caran D'Ache and Derwent Inktense).
- Dylusions Glue Stick or Distress Collage Medium (matte medium in a bottle with fine tip).
- Tim Holtz Tonic Studios Recoil Snips, Scissors.
- Tim Holtz Idea-Ology Small Talk and Dylusions Bigger Back Chat stickers.
- fine black pen for doodling.
- white Sharpie paint pen for highlights.
- Tim Holtz Tonic Studios Glass Media Mat,
- time to relax, cut up pics and colour in.
Dyan Reaveley's Dulusions stamps used ...
- Get Your Rocks On,
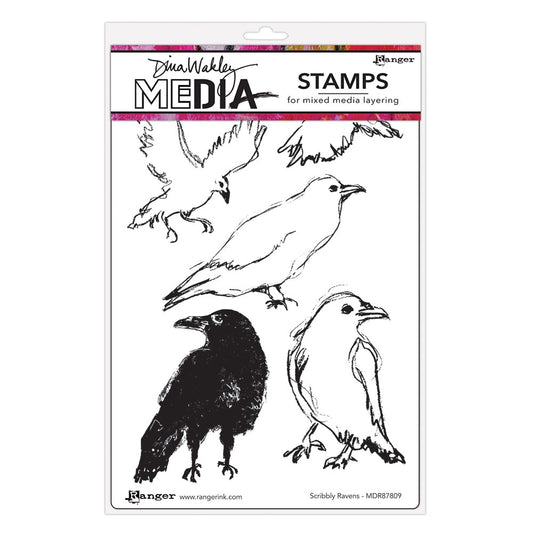
- Robin Couture,
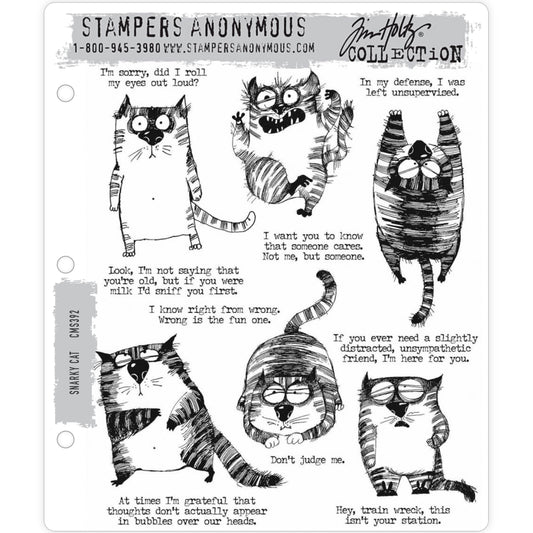
- Purrfect,
- Maybe Thursday,
- Toadstool Tales,
- Drink Me,
- Everything Stops For Tea,
- Let Them Eat Cake,
- No Place Like Gnome,
- Gnome Sweet Gnome,
- Fancy a Cuppa,
- Stevie Baby,
- Tea Time Treats,
- Just Be,
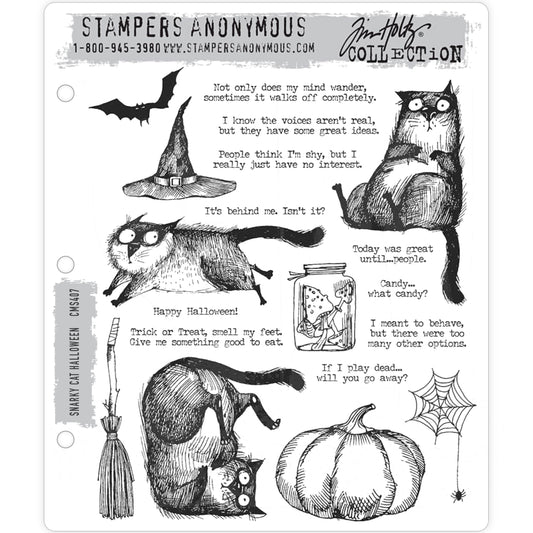
- Going Batty,
- The Longer The Leaf.
How to create a Summer picnic journal page ...
The following shows how my page evolved from a clean page with brollies (umbrellas), to a chaotic overstamped mess, to a colourful whimsical fun scene.

Above ... Start printing the beautiful wide leafy vine from the Dylusions stamp set, The Longer The Leaf, along both sides of your page using Ranger Archival Ink in Black Soot, Black Marble or Jet Black, whichever you have. I use the Black Soot ink pad from the Tim Holtz Distress Archival Ink Pad Stack. Next, print the large cobweb stamp across the top of the page. Using a fine tipped black marker, draw some scallops around the edges, magically transforming cobwebs into umbrellas! I also drew two vertical lines for the poles.

A closeup of the scallop edging is shown above. It doesn't need to be perfect :) I like to think mine looks like a vintage garden brolly.

Using the vertical row of tiny cupcakes from Dylusions stamp set, Tea Time Treats, turn the umbrella poles into something more interesting. Print the little teapots and big lollypop as placement images onto the page and some extras (to add after) on a loose sheet of smooth watercolour or mixed media paper.
If you plan ahead, you could use masking to create the page rather than placement imagery then gluing on extras. I didn't plan for this page, I stamped it out and at times I changed my mind so coverd it up with other ideas :) No rules, make it your way!
When masking, work backwards. For example, stamp the teapots and lollypop onto the page as well as onto lightweight office paper (or you could use low tack sticker paper designed for masking). Cut up the lightweight copies and (if paper) use bits of masking tape to stick over the stamped images on the page. When you print the large leafy vine stamp, the masks protect the teapots and lollypop from being inked.
Using masks instead of glued collaged/layers keeps your page smooth, a handy thing if working in a book you don't want to become chunky when full or when creating a scene to colour at a time when you don't have glue or scissors. I like creating all the ways... I love stamping, fussy cutting, doodling and colouring!

Still stamping in black, add friends, the garden and other elements with masking or placement imagery.

To create the background, use the fun doodled patterns from the Dylusions stamp set, Get Your Rocks On, with colourful Archival mini ink pads. I used Distress Speckled Egg for the swirly sky and Dylusions Cut Grass for the grassy brick pattern.

The above photo is my messy chaotic scene ready for some colouring, and a few sheets of extra stamped images including the head from Dylusions stamp set, Maybe Thursday.

Who knows how the brain works with deciding what colours to do first... I started with yellows and greens with a turquoise for one brolly and a pinkish colour for the other.

As days passed my colouring progressed and the extra layers were fussy cut, coloured in and glued down. I've also used a darker pencil to colour the edges of each piece to hide the white paper. This helps merge the pieces into the page.


Add some wisdom, thoughts and or laughter lines using your handwriting, stamped quotes or alphabets, die cut alphabets, cut up magazines, or use stickers!


This is my finished page... as you can see, it has changed alot since it started. I've left the head and flowers to stick out of the page as I couldn't bear to cut off the frog, petals and groovy pink hairdo :)
Thanks so much for visiting my Art by Jenny Creative Space, where I try to create a life less ordinary through arts and crafts. I hope it helps and inspires you to be crafty and arty, creating whatever makes you smile!
Happy Arty Days!
:)
Jenny