With Sparkly Shoes You Can Do Anything

With sparkly shoes and a new crown she could conquer the world! Dyan's stencils, Grandkids, really wanted to play with big bubbles so of course I let them. Scroll down and read on to see how it was made.

This is inside the Dylusions square Ledger Creative Journal, started on one weekend then finished the next. Start with drops of Dylusions ultra bright Lemon Drop acrylic paint rolled over the page with a brayer. The gorgeous neon instantly lifts any mood! At this point, there was no plan where the page was heading apart from wanting to make Bubbles! lol :)


Using Dylusions paint in Lemon Zest, blend through a large Dylusions stencil 'Crazy Pavers' over part of the page, then with the same stencil, grow a tree on each side of the page by blending Dylusions paint in Sour Appletini (green). I like to use Ranger's wooden handled tools with round foam applicators for blending.


Keeping the large stencil in place, layer the small stencil 'Jolly Holly' over the top and blend through the darker Dylusions green paint, Jungle Leaf.


For the tree trunks, blend Chocolate Drop brown Dylusions paint through the large 'Crazy Pavers' then the 'Tree Bark' dark brown Dylusions paint through the Tim Holtz stencil, Zig Zag. Apply black paint at the same time along one side of the tree trunk to add shape.
Remember to allow time for each layer of paint to dry before blending more over the top.

To create a background of bubbles, use stencils with large circles like Dylusions 'Boulders' and 'Coins', or create circles freehand using any round template (cardboard rolls, sponges, lids, etc). I used two blue Dylusions paints (Blue Hawaiian, Blue Lagoon) with White Linen paint to paint circles with varying shades.

Once dry, apply purple to the bottom curve of the largest circles using Dylusions Laidback Lilac. This will help give the circles more of a sphere shape.

With a page of bubbles, I felt the page needed characters for a story. Dylusions stencil and mask set 'Grandkids' was used to add three children silhouettes, applied with a grey Dylusions paint, Rainy Day.

Sharpie Creative Paint Pens in grey and turquoise were used to draw in handles of the bubble wands, while black and white were used for other markings and highlights.

Beautiful shiny sparkles were added to the bubbles by spreading Distress Sparkle Paste through Tim Holtz stencil 'Sparkle Fade' using a spatula (palette knife).
White splatter was scattered around the background with white Dina Wakley Media Glossy Paint, using the straw to tap spots everywhere. Not quite random like spattering, spraying or flicking but it creates a similar vibe. White is great for enhancing other colours, bringing them to life.

I gave the kids some patterns on their clothes using Tim Holtz stencils, Batty (mini set 61) and Doodle Art (mini set 47), applied with black paint.

Dylusions darkest brown paint, Tree Bark, was painted around the tree leaves with a fine round paint brush in two layers, allowing the first to dry before repainting the same area. Black Marble paint was also used to add extra shape to the tree trunk and mixed with the brown to repaint some zigzags. The white squiggle is drawn on with Sharpie paint pen.

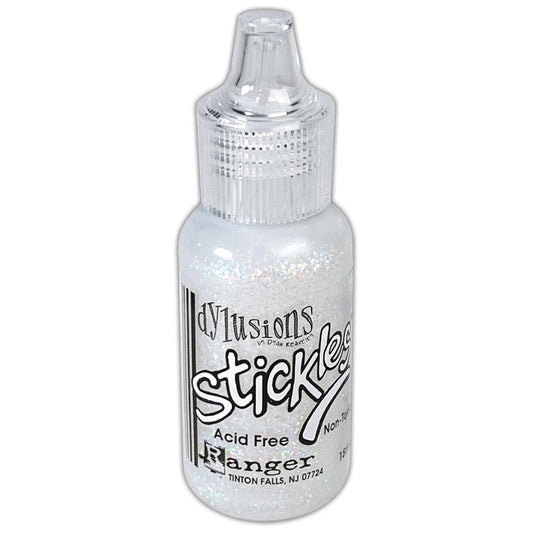
Black doodling was drawn on with Sharpie paint pen and extra sparkle added to the bubbles and bubblewands using Ranger's Stickles glitter glue Frosted Lace and Star Dust.

Dylusions stamps were used to create the shiny shoes (from one of the gnomes in 'Just Robbin Along') and a crown (given to me by the frog in 'Stevie Baby'). First I stamped the images using Ranger Archival Ink (Jet Black) then painted the shoes with Dylusions Shimmer Sprays 'Pink Flamingo' and 'Rose Quartz' (one on each half), and splashed them with a tiny bit of water. Holding each shoe with squeezers, I then dipped the heels into a small puddle of Tim Holtz Mica Stain 'Ominous Twilight' (purple), then left them on a scrap of paper to dry. I used the same method for the crown, using Dylusions Shimmer Spray 'Vanilla Custard' and teeny bit of 'Rose Quartz' on the tips and band.
I glued them to the page using Tim Holtz Distress Collage Medium, held in place using Idea-Ology Hinge Clips while I applied pretty glitter glue 'Star Dust' and left to dry.

A quote from Dyan Reaveley's stamp set 'Quintessential Quotes' was stamped onto a scrap of Dylusions mixed media paper using 'Jet Black' Ranger Archival Ink Pad, fussy cut and glued in place using Distress Collage Medium.
Forest friends finished the scene - a squirrel and owl - from the pack of Dina Wakley MEdia 'Forest' Collage Tissue Paper which is full of gorgeous designs! The animals were trimmed closely and glued in place using Distress Collage Medium applied with a brush.
Thanks for visiting and spending time reading my artt tutorial. I hope it has helped and inspires you to be creative using your favourite shapes, textures and colours.
Happy Creative Days!
:)
Jenny
