Sizzix
Kathrin Breen 3D Impresslits by Sizzix - Die Cut and Emboss in One - Poinsettia
Kathrin Breen 3D Impresslits by Sizzix - Die Cut and Emboss in One - Poinsettia
Couldn't load pickup availability
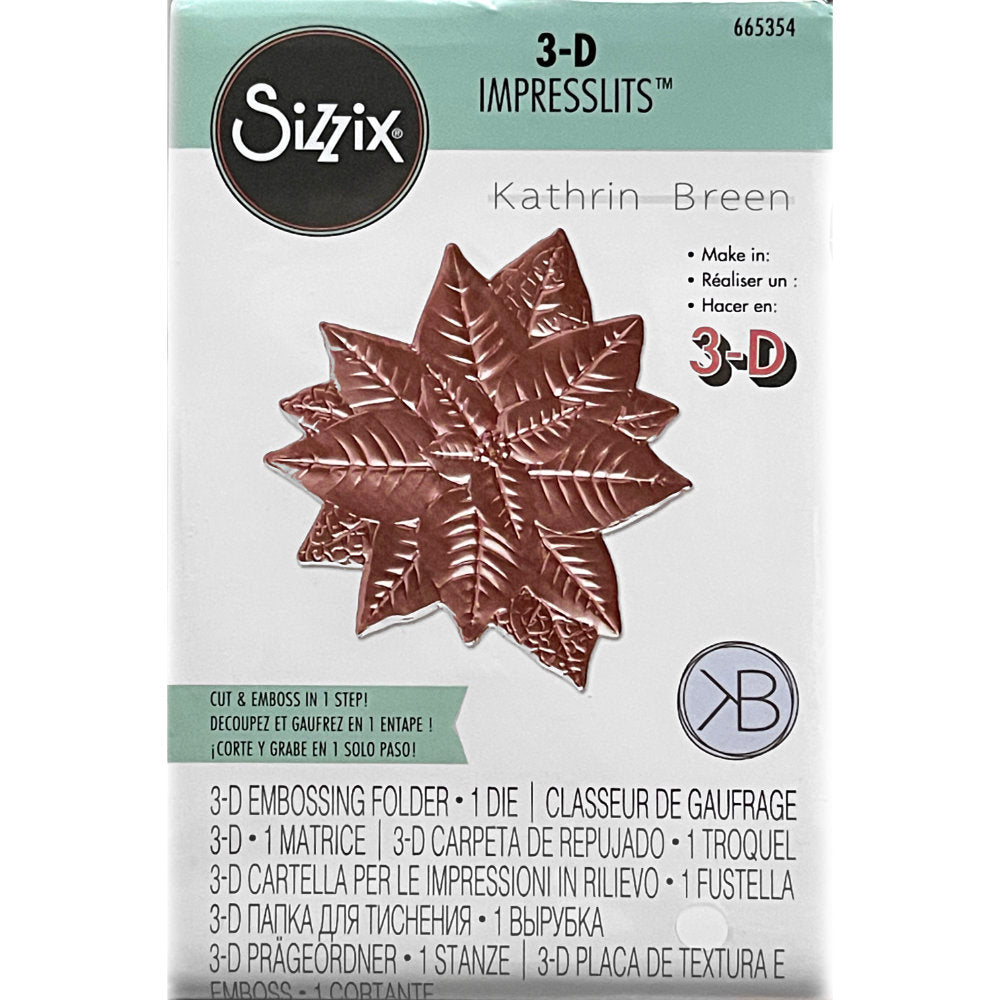
Poinsettia - Impresslits 3D Embossing and Die Cutting Folder ... by Kathrin Breen and Sizzix (product no. 665354).
Cut out and emboss features at the same time using this beautiful poinsettia flower. Use as one flower, or create multiple petals or leaves with a snip of your scissors (making a dimensional flower). Perfect for greeting cards for Christmas, journal pages, floral collage, scrapbooking page, assemblage display box or frame, all year round creativity.
Die cut sizes are (approx) : 2 5/8" x 2 1/2".
Folder size is approx 2 7/8" x 4 1/2" x 1/8".
Pack contains one piece ... an embossing and die cutting folder made by Sizzix, designed by Kath Breen.
Sizzix 3-D Impresslits Embossing Folders will cut and emboss in just one quick and easy step. No need to line up the cut out shape to emboss or trim afterwards... this folder does both at the same time! It cuts out the shape at the same time as moulding a 3-dimensional design. Will work with a wide variety of papers and cardstocks.
Perfect for creating faux metal embellishments, multiple layering effects, making 3D elements for cards and pages. Designed to cut a single sheet of cardstock, paper, metallic foil, vellum. The finished design can be used either way up - embossed (raised) or debossed (indented, lowered).
What's an embossing folder anyway?
An embossing folder is a piece of plastic (folded in half, usually along the top short edge) with an etched image in both sides of the folder. The sides sandwich together, moulding the paper into a raised 3D shape.
The Impresslit cuts out this shape at the same time as embossing the design to give it a raised 3-dimensional effect.
Its very clever and the detail created using this Impresslit is amazing.
- I'm happy to post you a sample of something cut out using one of the Tim Holtz Impresslits (designs vary). Any excuse to play!
How to use an Impresslit...
- Mist your paper very lightly with water on both sides (optional, but does make a difference).
- Place inside the Impresslit folder.
- Wind through your favourite die cutting machine (eg, Sizzix Big Shot, BigShot Pro, Cuttlebug, etc - all sold separately).
- Sizzix recommends using one cutting pad with the main platform and winding through up to 3 times for a detailed and deeper 3D finish.
- Take your paper out of the Impresslit die cutting and embossing folder ... its all ready to go.
- If you find it tricky taking out the pressed piece, use a piece of washi tape to help pull it out. Some designs are quite snug :)
- If you misted it with water, let it dry completely before inking.
Notes...
Misting the paper with water before running through the machine makes it more flexible, enabling the paper to emboss deeper without tearing.
Once dried, the design is quite firm and the detail is quite amazing. Alter with staining, sanding, distressing and colouring. Have fun!


